FlyControl software integrates within the monitoring software of the subsystems that form the laser engraving machine. A user layered system allows to access to the different sections of monitoring, configuration and control.
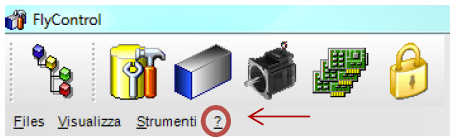
To check the software version you have to select ? which is on the toolbar on the top of the page.
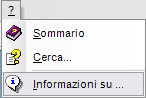
Then select “About”
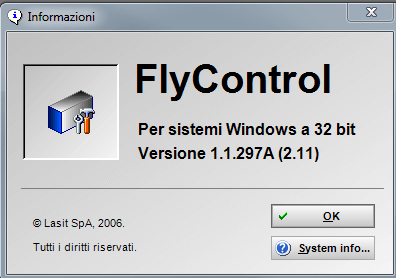
A window will display the information relating to the version of your software and its characteristics.
To save your configuration the first thing you need to do is to select the path where you want to save the database
Click on “Database” from the tree on the left and choose the path.
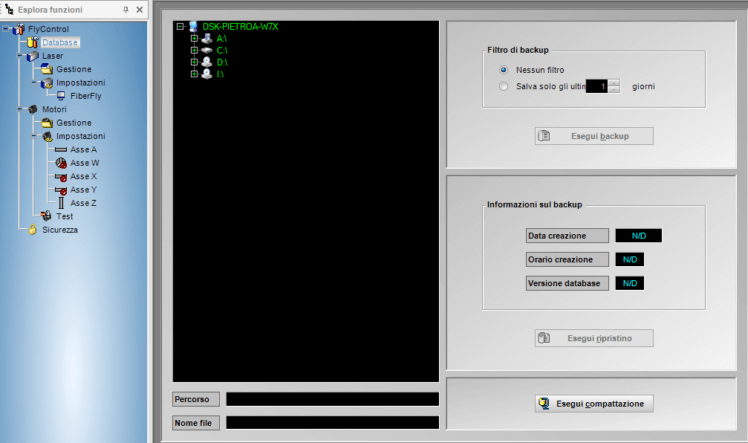
Once selected the path, name your configuration in the box below.
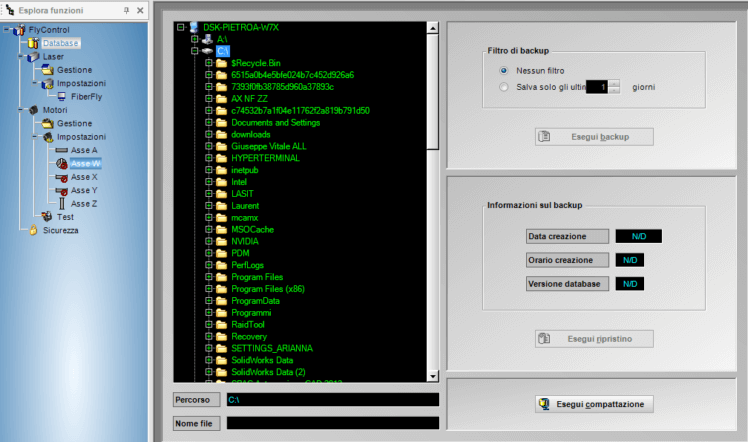
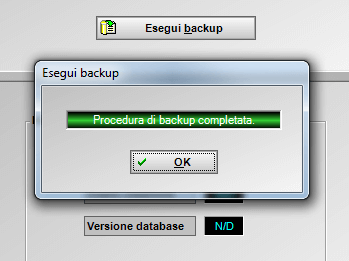
Click on Execute backup and wait till it is done.
FlyControl has a tree structure which is the ideal solution for displaying a great amount of data organized in a hierarchical order.
In this case, from the root FlyControl all the nodes (Database, Laser, Motors) spread out, which in turn are above all the other “leaves”.
Properties
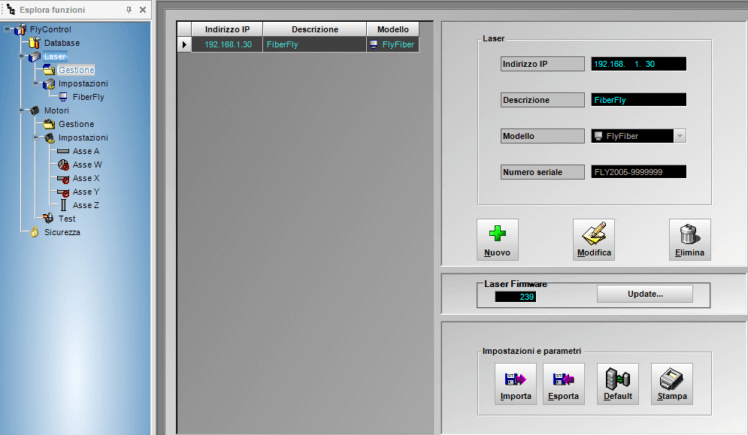
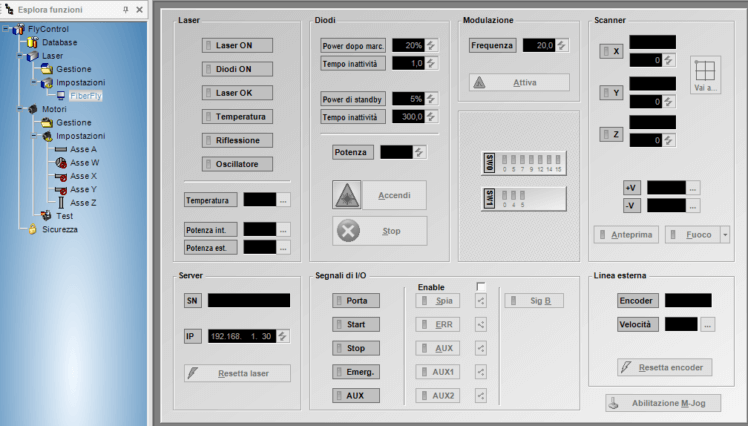
Clicking on the Laser node you access to the information relating to the lasers and their status.

From here you can quickly select one of the two “leaves”, Management and Settings.
In Management you can access to the information relating to the installed lasers, that is to say the IP address, the description, the type of the laser and the serial number.
If you are running FlyControl as Admin (or if you have the authorizations) you can manage or modify these information.
In Settings you can set or disable the lasers you have on the list (only if you are the administrator)
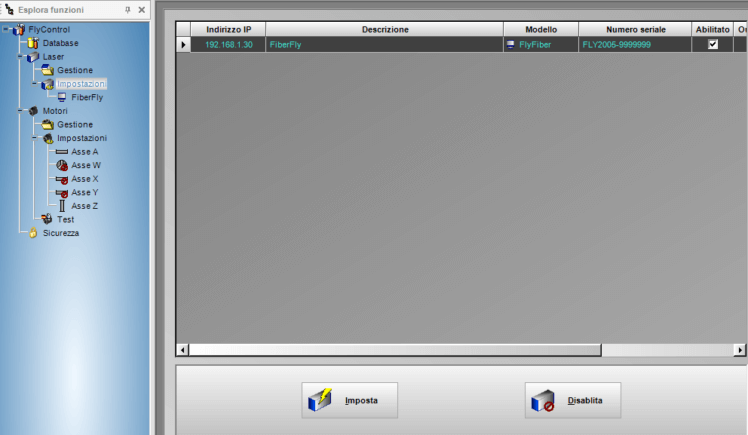
In Settings you can also check the status of each installed laser.
Clicking for example on the fiber laser, you can access to the information about its configuration.
If you want to get the IP laser of your laser follow the steps below:

NB The fixed section in Address building must be the same as the one set in the network card of the PC relating to the laser.

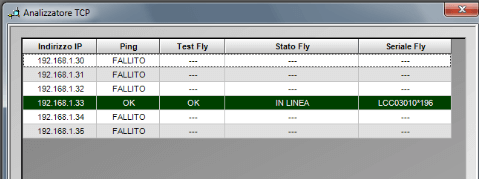
Once the laser has been found, you will get this window from which you can obtain the laser IP address.
If you want to get the IP laser of your laser follow the steps below:
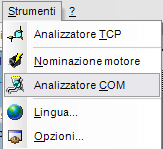
Select Tools on the toolbar
Click on TCP analyzer
To run the analysis you have to insert a minimum and a maximum value in the Variable Section boxes (in a range between 0 and 255). Our laser IPs change only one number of the Fixed Section – the last one – which can be either 0 or 1. The variable section is always between 30 and 50, so fill in the boxes with these values in order to speed up the analysis.
NB The fixed section in Address building must be the same as the one set in the network card of the PC relating to the laser.
Once the laser has been found, you will get this window from which you can obtain the laser IP address.
To set a new user you must run FlyControl as Admin, otherwise you won’t be authorized to create a new user.
Select the Security node in the tree on the left. You will access to the list of all the user which are configured in FlyControl.
For each user you will have a level (Admin or Operator), an user name and a password.
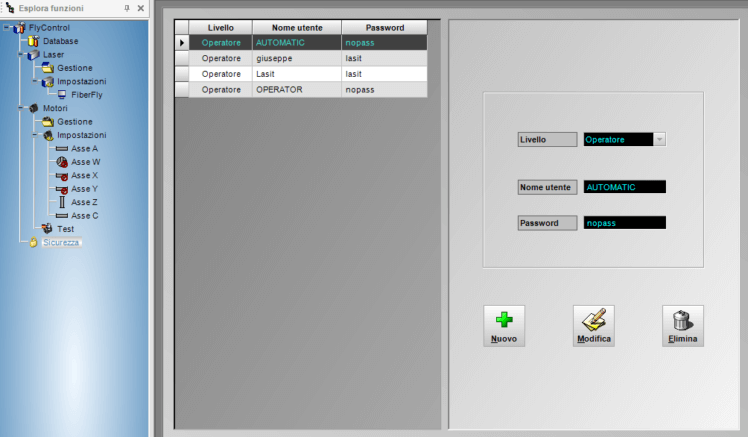
Click on New and insert:
Level (Administrator or Operator)
User name (a minimum of 5 characters)
Password (a minimum of 5 characters)
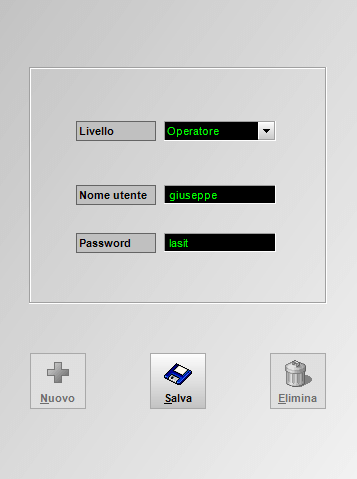
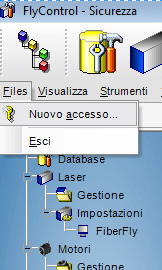
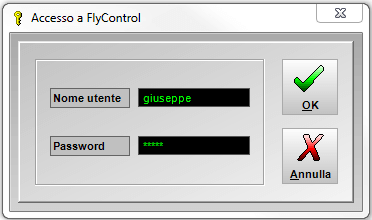
Once saved all these information, you can access with the nuw user opening the menu Files and selecting “New access”
Insert the new user name and password
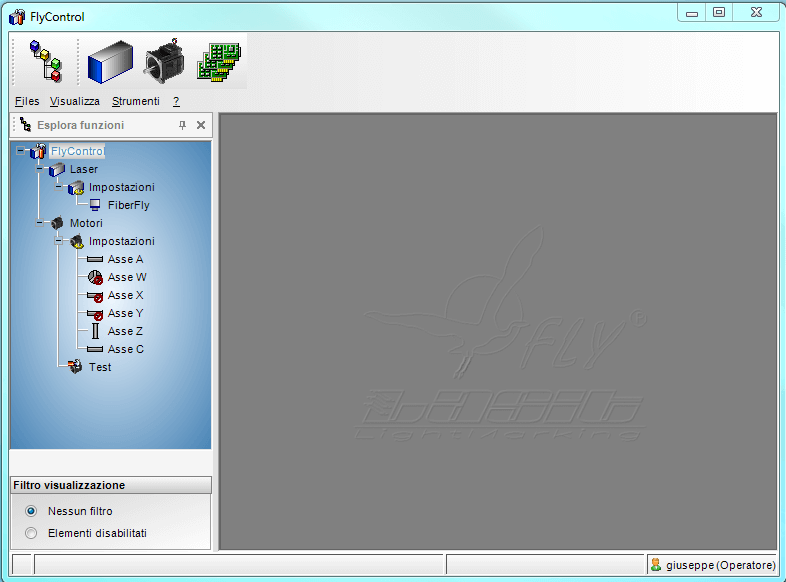
This is the screen of the new operator:
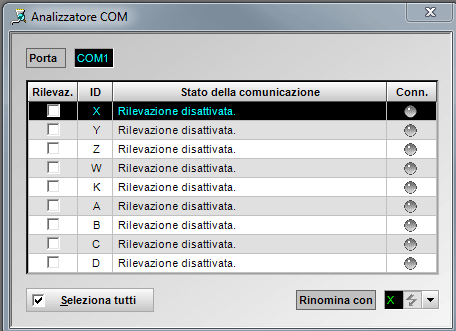
In case you want to know which COMs are connected to the motors you can run a COM analysis.
Select from the Tools menu COM analyzer
A window will show all the available motors, select the one you are interested of or all (clicking on Select all). FlyControl will run the analysis.
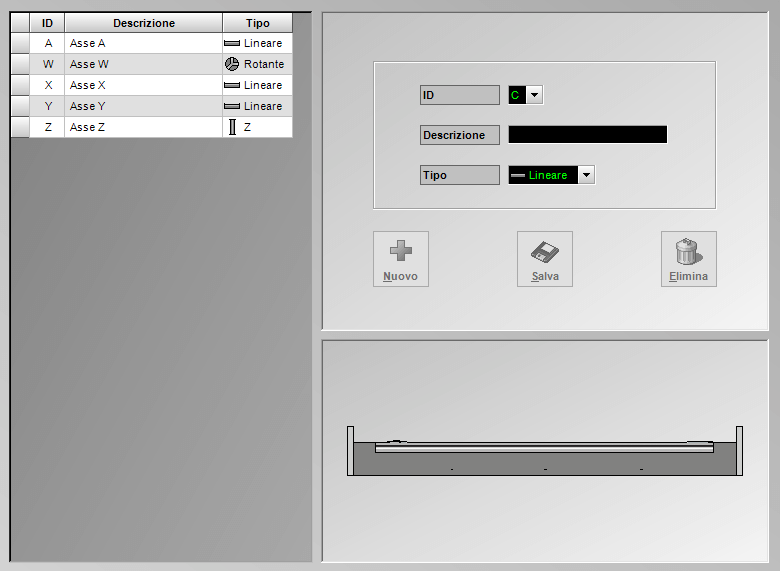
You can add a new motor in Management which is below the Motors node.
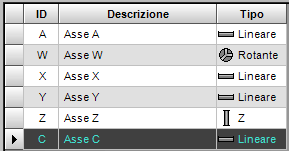
If you have already some motors configured in FlyControl you should get this screen:
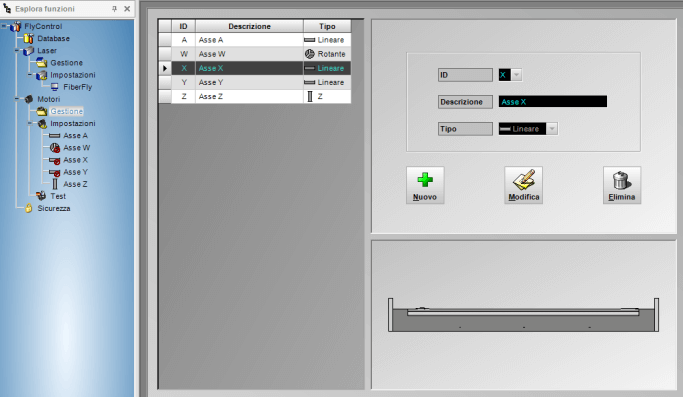
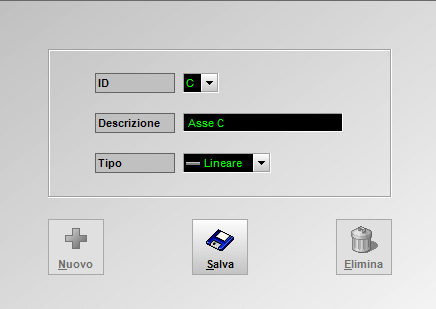
Click on New and add all the information about the new motor. Then select Save.
ID
Description (where you can write whatever you want)
Type of motor (linear, Z, rotary)
NB If you have no motors configured you just have to add the same information and save.
In FlyControl modify and reload the MDrive_34_1.mxt file.
Close Lasit software
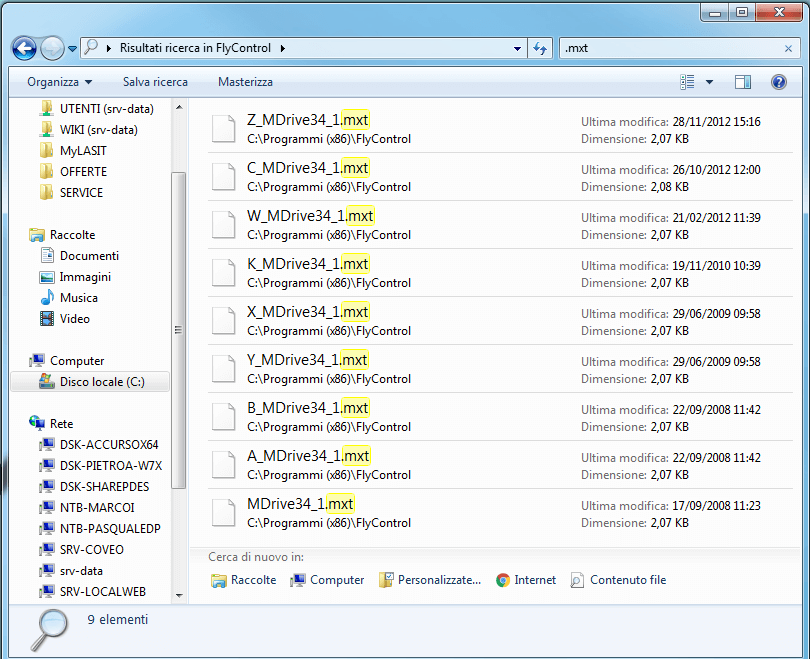
In FlyControl folder you will find all mxt files: Y_MDrive34_1.mxt, X_MDrive34_1.mxt, Z_MDrive34_1.mxt and so on.
Make a backup of the mxt file relative to the Axis where you need to invert direction
Open the original file
Look for rows where you have LB M2 and N2=512-I5 or N2=I5-512
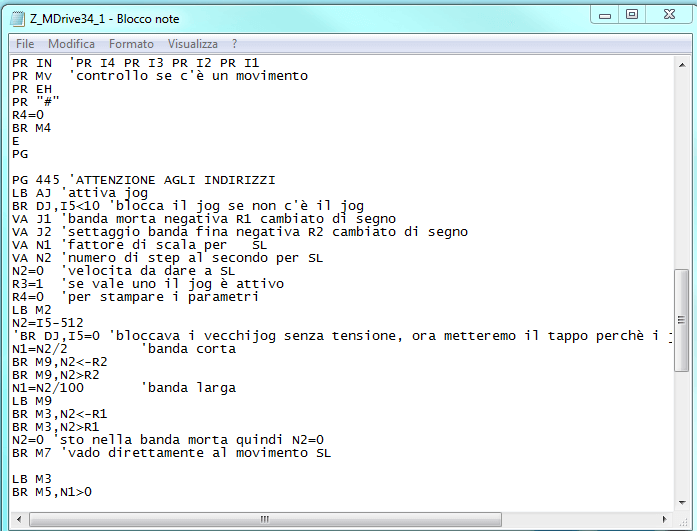
Invert, i.e.: N2=512-I5 to 512-I5 or vice versa
Then, after saved, open FlyControl
Select the axis to change
Click on Upload and wait
WARNING: If you have power loss during uploading you may break the motor